I know what you’re thinking.
Too good to be true, right? A self watering garden would be like a self-working job, or a self-oil-changing car… or a host of other things that we would like to do themselves, but just don’t.

there’s no reason it shouldn’t look nice, too
Okay, so what’s the catch?
…Is there some high-tech gadget or ongoing massive energy (or labor) bill or at least batteries I have to change? — nope. none of that.
We had an overwhelming response from all you gardeners
at Garden Expo 2011, so we decided to make the plans for this nice little garden available for viewing and download, free of charge! What follows is your basic how-to, and explanations of why this design makes so much sense.
 First, the ‘square foot garden’ is the basic design layout we used because, well, it just makes sense. Pack more yield in a small space, less room for weeds to grow (still working on that self-weeding garden…), the ability to put it anywhere, even on concrete in the inner city. For more info on square foot gardening, grab the book by Mel (it’s kind of a big deal…)

Here is another benefit: Easily space your vegetables correctly, and use companion plantings effectively – that is, some specific plants will do better next to certain others, while some do the opposite of better (avoid these combos).
2021 Edit: If you don’t want to buy or read Mel’s entire book, Leonard wrote up a great overall article on square foot gardening here: https://backyard54.com/p/square-foot-gardening/231
 Second, we simply combined that great design with another. Namely, our self-watering planter. (Leonard’s article above even mentions the challenges of keeping your square foot garden watered well enough, so hoping this will help in that regard!)
We will have more about the previous testing and self watering planter designs that we have been installing, but the basics behind this technology is not new.
In fact, it is based on capillary action, which happens to be what Einstein wrote his first essay about. How’s that for raindom? It is also what many resourceful Aussies have done during their severe droughts due to its tremendous water efficiency.
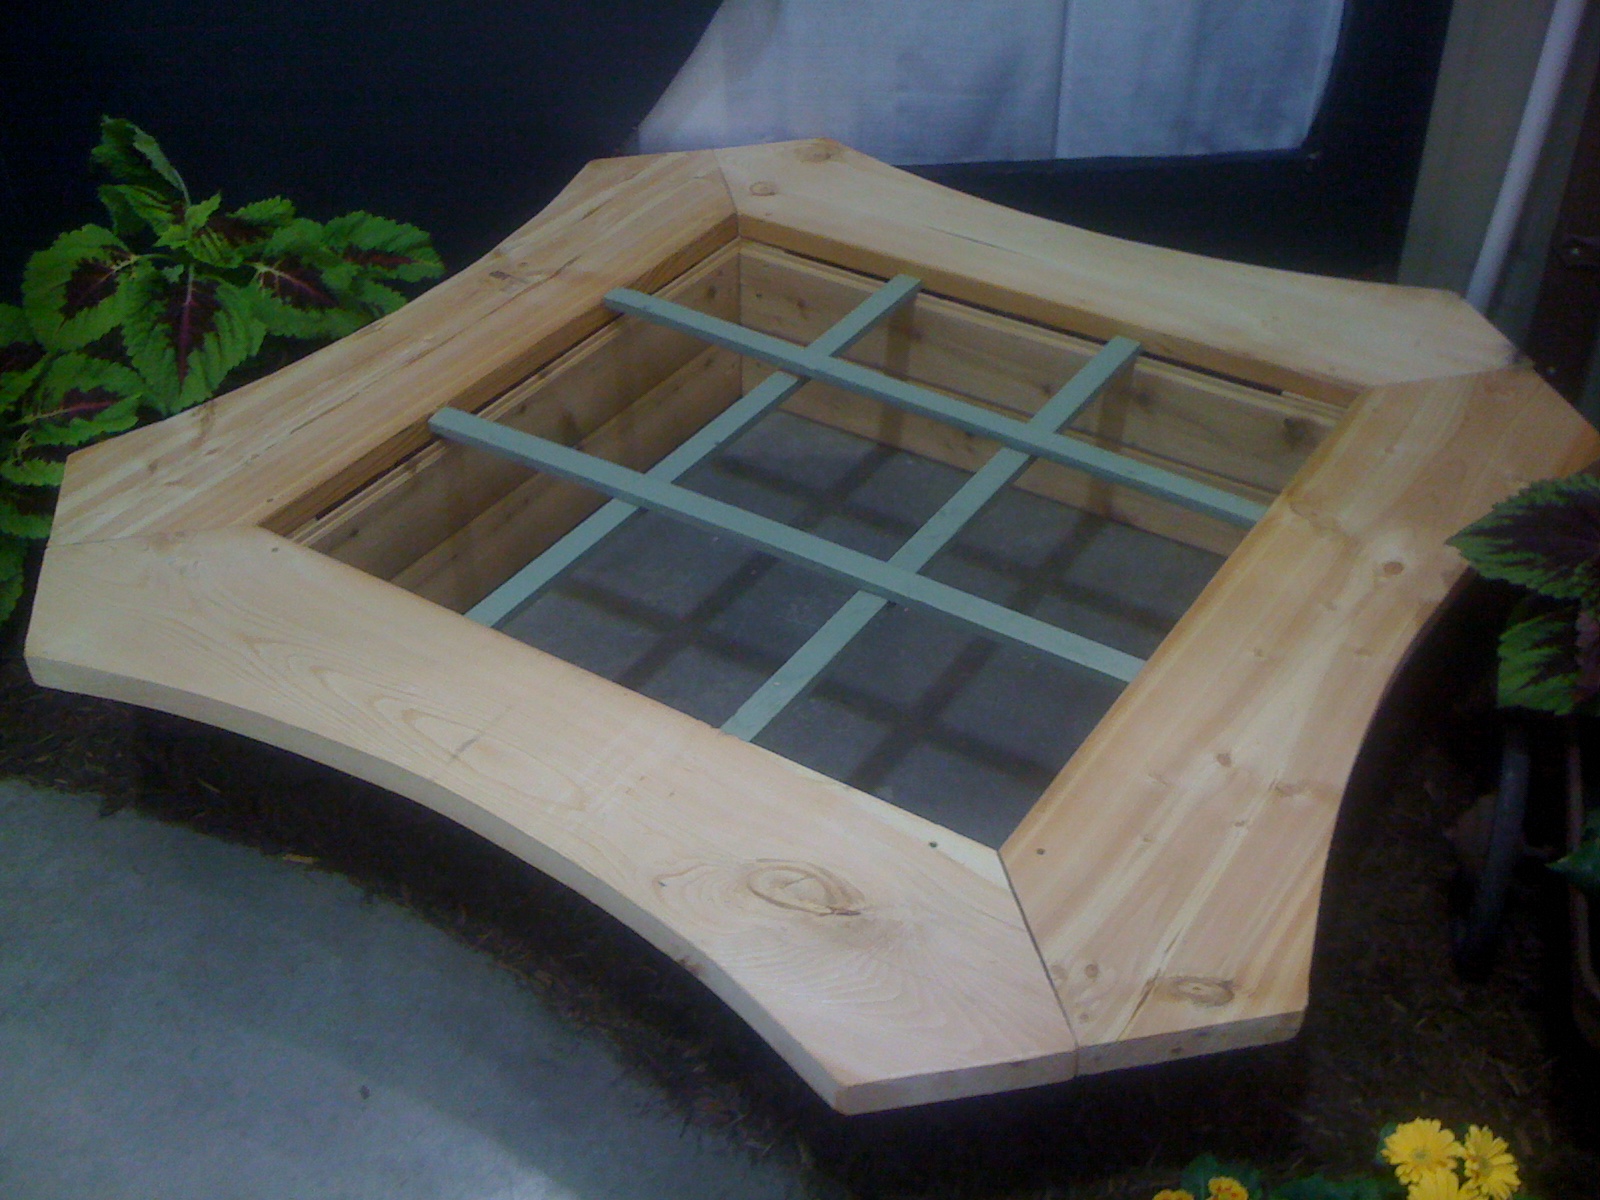
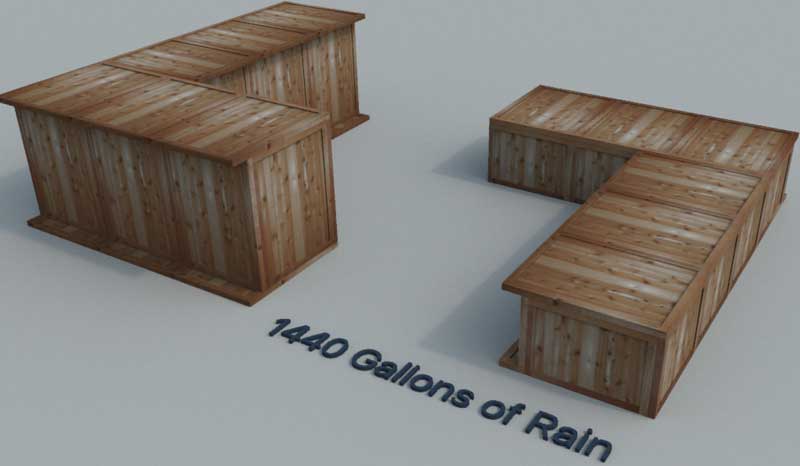
Right, so we will be starting with basically a 3’x3′ box, with all sides about 18-24″ tall,  strong enough to hold the outward pressure of water and soil in it. Please note that it can be larger or smaller, but this is a nice little garden plot, as in the photo above from our display at Garden Expo…
If cedar is not an option, sealing the inside with a waterproof coating like ‘Kilz’ may be a good idea. Use water-based and be sure nothing will leach into the soil.

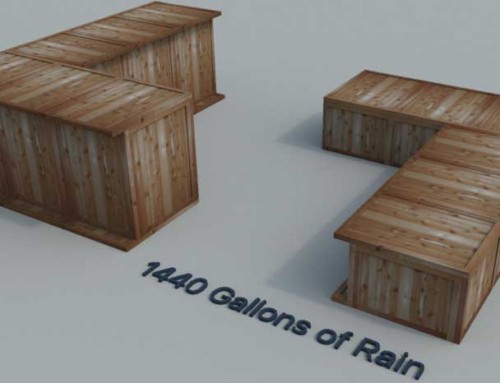
a RainBench liner is cut in half for a smaller self-watering planter
Next you will line the bottom up to ~8 inches or so with one or two layers of waterproof liner. 4 mil poly film will suffice, available in rolls at your local hardware store. You can staple the top edges to the sides of the box, or let backfill hold it in place.
You can bring the liner all the way to the top if you like, but either way you will need to create an overflow (fold down or cut liner) at 6″ above base.
For smaller planters (up to 32″x32″) half of a RainBench liner works well and has a fitting built-in that can serve as an adjustable-height overflow. Larger liners can be made by request, or bulkhead fittings can be used to achieve the adjustable-height.
**Important note: We are leaving adequate space above the water line (overflow) in order to give the plants’ roots room to breath. This depth will change depending on varieties; for instance, marginal plants will grow in standing water, but most vegetables like well-drained soil. Hence the advantage of having an adjustable-height overflow…
 Now take some 4″ perforated PVC (rigid gray), cut it to about 6″ shorter than the length of the bed, add a 4″ elbow and a vertical 4″ riser (see left).
Connect them together, place holes down so dirt doesn’t fill up your PVC, and cap both ends. Make sure the riser cap is removable. Now you’re ready to backfill.
There are a few ways of doing this. The

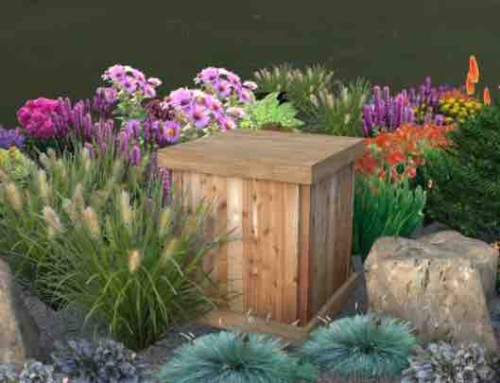
This self watering planter was backfilled with straw, and fills with every rainfall.
simplest way is to lay sphagnum moss, hay, straw, or ‘bagasse,’ a byproduct of processing sugar cane, down over the pipe and a few inches thick over bottom. You can also add more PVC pipe to increase holding capacity, and even use filter fabric to keep dirt from filling in the reservoir. Make sure there are enough spaces where the wicking material reaches the bottom of the liner.
On top of this, fill in with your planting medium almost to the top. This can be an equal mix of compost (organic material), clay and sand, or another mix of your liking– Here is a good overview of soil supplements.
Top it all off with mulch that will hold soil and water but also break down fairly quickly, such as chopped up leaves, grass clippings, rice hulls or other compost. A great research write-up on various mulches and their effects can be found at ECHO – Educational Concerns For Hunger Organization. In it, I believe you will find the beginnings of what may just be the ‘self-weeding garden’ – what they term the ‘no-till garden‘ – which is basically accomplished by 6 inch thick mulch, each year. Of course, even with the breakdown of the compost, this may lead to needing to remove a couple inches off the top of the raised garden every other year…

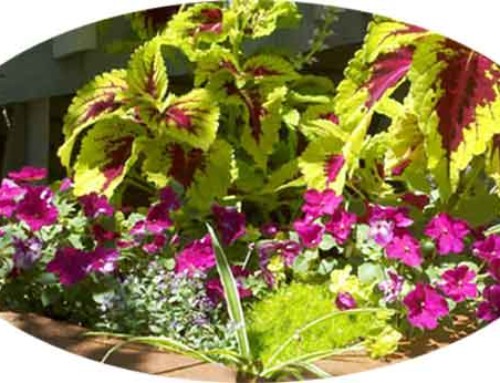
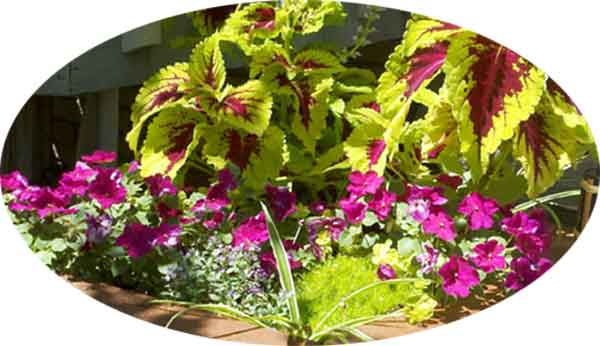
Self watering planter with Red Banana and various annuals
…which would probably be very much appreciated by your flowerbeds!
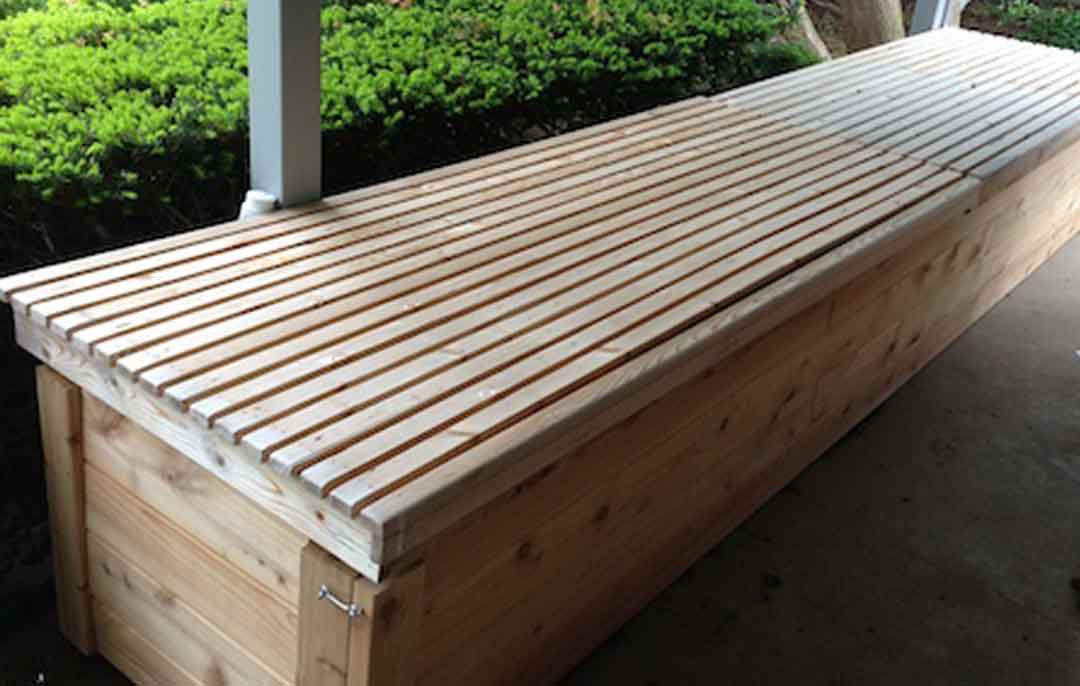
Last, look back to the top photo from the Garden Expo. See the seat around the top? I just had 2 – 2×12 x 8’L, cut a smooth arc and used the triangles from cutting off the corners as braces for each seat.
At 18-24″ tall, this self watering garden is at the ideal seat height, perfect for gardening in comfort.
The CAD drawings for the self watering garden are en route to completion, and will be available for download as soon as they’re ready.
Happy building (& gardening)!


I love your products and all the great ideas. I am curious how these garden designs are self wicking though?