
“DIY” means different things to different people.
 I consider myself an avid DIYer (growing up in farm country, I learned basic carpentry, plumbing, electrical and welding from my dad), and nowadays you can find out how to do just about anything from one Google search and a Youtube video. However, there are limitations to how far any one DIYer will go, creating the need to discern “levels” of DIY – from basic to advanced, and mainly to establish a start-to-finish project timeline.
Realizing new things at various points along my DIY journey, the above statement combined with one critical fact has led me to push for simplifying the basic design of the Rain Bench and of DIY rainwater harvesting in general:
 You may have plenty of skills, tools, and even money to do “advanced DIY”. What you and I lack is the time to do it all.
As a small business owner, I know about the importance of delegating and using simple tools and products that, when possible, can be used or installed by someone else, ideally with less experience. As a DIYer and a homeowner, I know there are always a long list of projects to do, from improvements to maintenance; so much so that it seems for every one that I finish, two more seem to be added to the list. What follows, then, is the first of a heaping pile of more simplified “rain bench” designs (only because they use a “Rain Bench” kit – they are not all for seating), with more detailed step-by-step instructions in an effort to cut down the time and thought process required for you and I both to build reasonable amounts of rainwater storage right into the most beautiful, usable outdoor spaces imaginable.

Searching high and low, debating whether or not to start shipping large pieces — a practice I had written off early on in this process, to be consistent with the entire purpose of living better with a lower environmental impact — I found these staring at me at my local home improvement store. Well ok they weren’t staring, and they weren’t at the store, but they are at homedepot.com (I am not affiliated with, nor do I make a dime if you click the link and buy any).
It’s important to note that you can also just use tongue and groove or even scrap lumber to save money and build to more ideal dimensions.
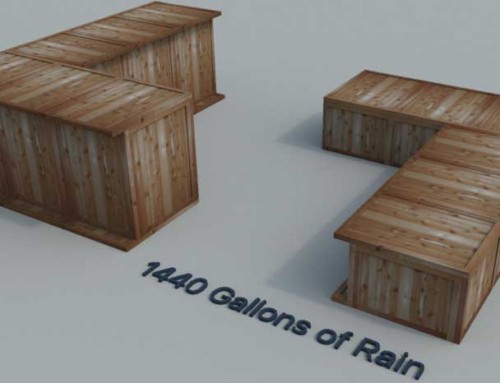
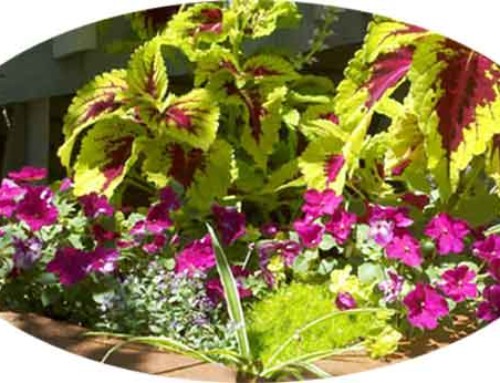
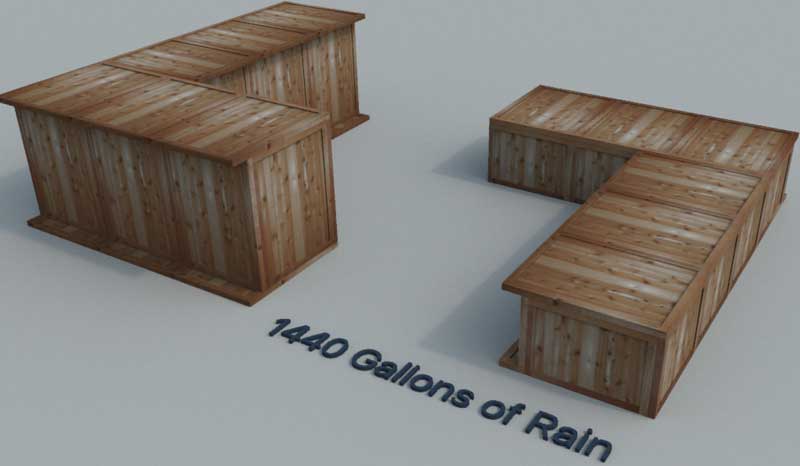
But these are already made, so less cutting is needed. This is an example of how our DIY kits and liners are flexible enough to work with various materials. These panels are 30″ x 36″ and the plans for this will get you a box about 3′ cubed with a 140 gallon capacity.
There will be about 4-6″ at the top that you can add another shelf for storage, and the written plans will show this as well as the details of installing the liner, which you see a snapshot of in the assembly video below…
This will be in our store called the “140 gallon Cedar Panel Rain Bench kit” – or something even more long and drawn out, but along those lines. It will not include the 4 panels or lumber, but all of it will be on the shopping list just like all of our plans. The total cost will be more than just buying the lumber, because you’re paying for someone to assemble these panels as well as the shipping, but again, the quality of material and time savings may justify it.
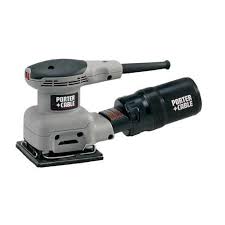
For the base, recycled plastic lumber is ideal, but treated plywood or decking has worked for me for years. The cap can be plywood but I would make it a little bigger and face it with something a little more finished, sand it down, seal it, just to make it as awesome as it can be.
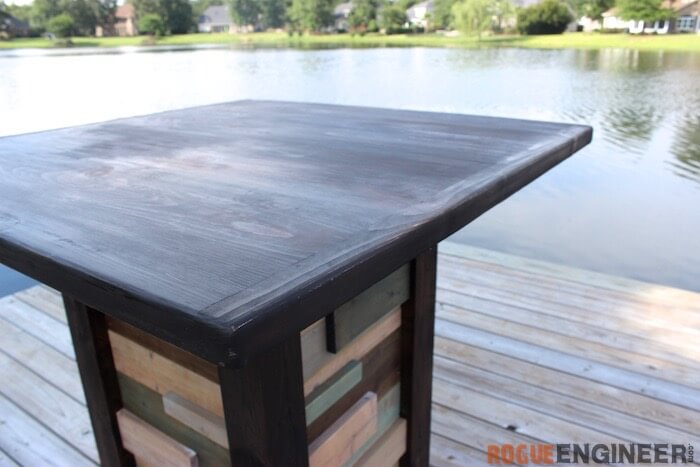
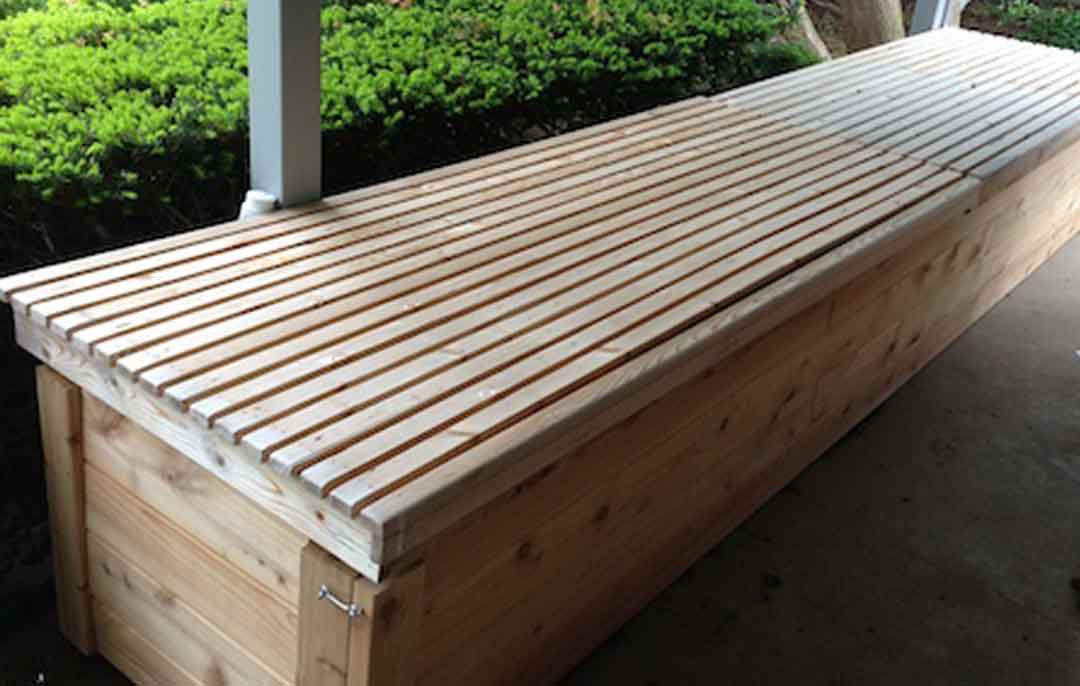
photo courtesy of rogueengineer.com
Here is a great resource for some plans by a guy who has more skill than I, and I will be using some of his techniques when building more of my own personal rain benches this year (again, no affiliation, just recognize a good craftsman): https://rogueengineer.com/modern-reclaimed-pub-table/
You can see how, even with a random inlay in the walls and a little stain, you can really take a simple design and make it a centerpiece of the patio or garden.
It’s really all about priorities.
In the end, I realize I simply cannot do everything I would like to, so I begin to prioritize each item and start with the most important – at least in a perfect world that’s what I do. I am a designer. I design things, mostly landscapes, to make my clients’ lives better by making their outdoor living spaces more beautiful and more functional, at the same time requiring less of their time to maintain. Every design you see here is with that end goal in mind.


Leave A Comment