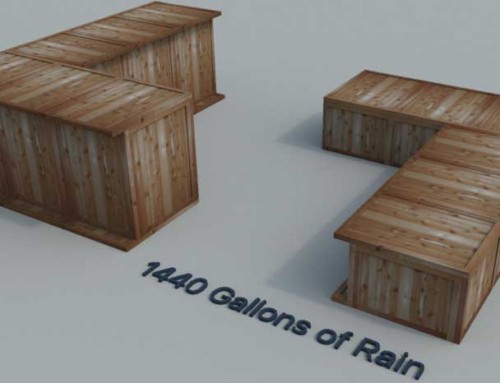
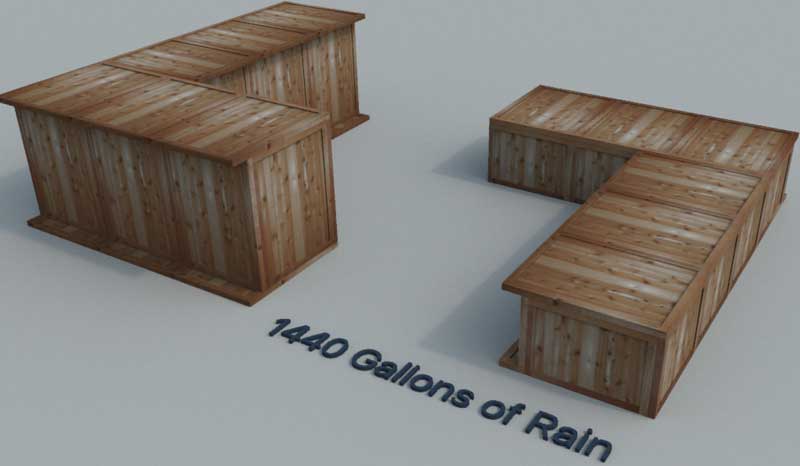
 The instructions are pretty self-explanatory, but here are a few little tips and tricks that we have figured out after building a few of these Rain Bench things…
1. First, read through the instructions before you start. I know, I know, they always say that, but it might save you some hassle, that’s all I’m saying. (It’s only 5 pages or so, and mostly pictures)
2. You’ll notice the large panels can be cut for free at some supply yards. That would be ideal, as they have a panel saw and can zip them right down for you. If not, no worries. Just take a circular (Skil) saw, a long straight edge (like a straight board) and 2 wood clamps, like you can see I did in this little video:
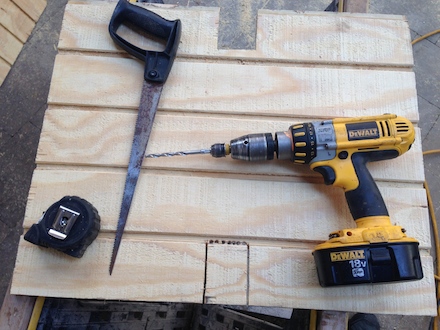
3. You will also notice in the video a note about using a drill and compass saw for notches. Here’s how:

Mark the notch according to the instructions,
Cut the 2 lines up from edge (miter or circular saw ideally),
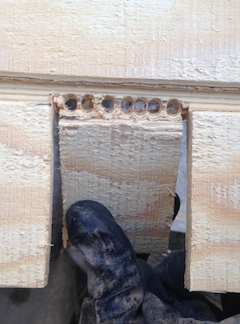
Drill holes along the horizontal line,
Break off the middle piece,
Clean up the drilled edge with a compass saw
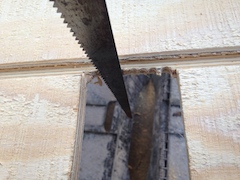 (a pruning saw or even a sharp utility knife might work for this – but be careful!!)
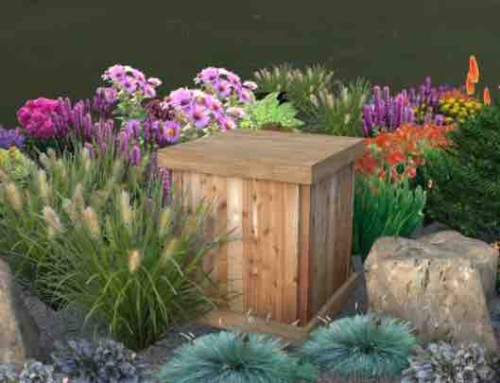
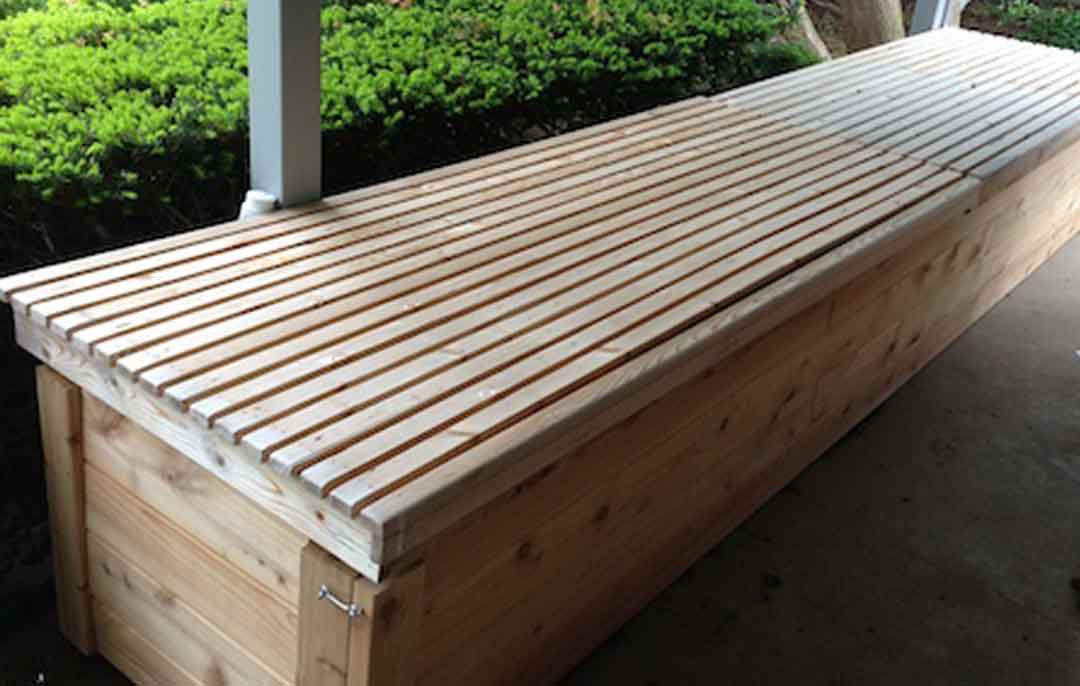
And voila, a nice rectangular notch for the liner to slide right into.
**Update** Here is a lil video from the 400 gallon bench in Mom’s Solar Thermal Studio:
If you are in the process and have any questions about building this or hooking it up, please shoot us an email or give us a call! Cheers!


Love these benches! And I have a SawTrax panel saw at home to help me with the cuts. Thanks!
I read out your article your tips are awesome and very informative. I got some good idea about rain bench from this article. Thank you.